
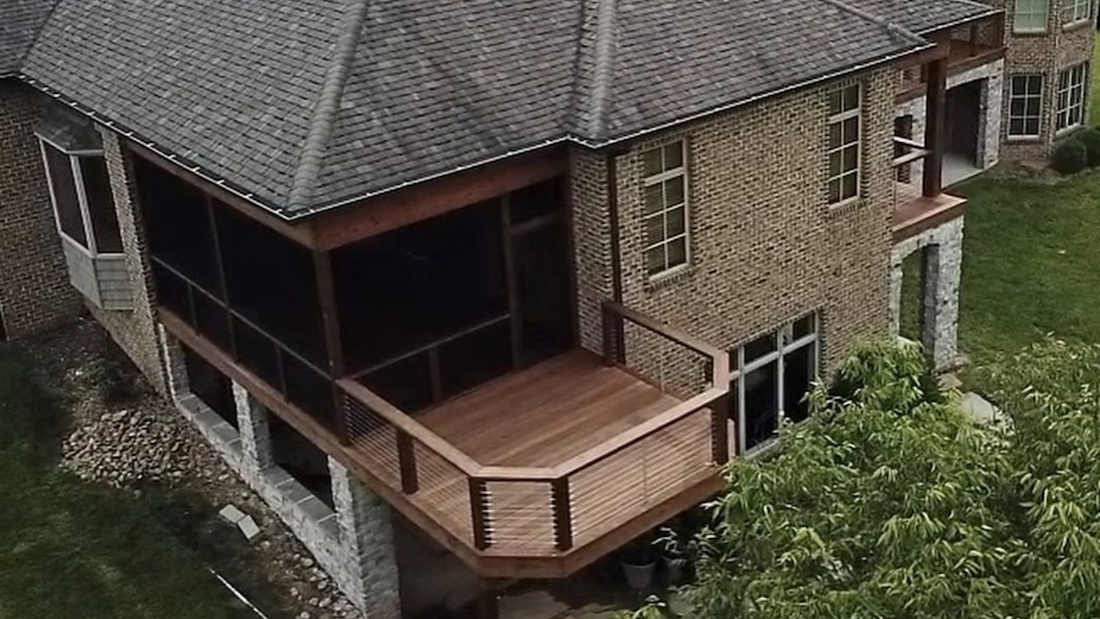
10 Jun Screen Room Project
Today we wrapped up a screen room project, be sure to check out my story for more details of how it was done. I have been using @screeneze to install fixed panels for nearly 8 years, I have never had a sag or call back, ever.
However much you love your patio, there may be just too many days when it’s not fit to live on. Our enclosure turns a patio—or a deck—into a space as comfortable as another room of your house. Of course, it won’t keep out the cold, but the roll-down shades will block out most of the rain. And, thanks to the screens and the awning soffit, you can forget about mosquito attacks.
Our 14 x 16-ft. enclosure is a big project. Although it’s fairly simple structurally, it requires careful work with a lot of large-dimension lumber. The trickiest part is getting all these components square and plumb, which probably calls for more than a beginner’s skills. And you’ll spend a lot of time building—two or three weeks going at it full time, or much of a summer in your spare time.
We built our screen room roof high enough to preserve a pleasant view through the sliding doors. In summer, the awning top shades the bright sun, yet allows plenty of light to pass into the house. And here’s the biggest selling point for this project: You can easily remove the awning in winter and let the sunshine in. The structure is designed to look good even without the awning top. Of course, you could leave the awning on all year in many parts of the country, but it won’t support a heavy snow load.
The awning is attached as shown in Fig. E and Photos 15 and 16. A slide-in channel at the peak and turnbuckle clips along the edges make for a quick, no-hassle on-and-off in spring and fall. The approximately 16 x 16-ft., one-piece, vinylized canvas weighs only about 10 lbs., so it’s easy to handle.
We had our screen room awning top made by a professional awning maker, who also handled the initial installation. As an alternative, you can also consider metal or plastic roof panels, which are sold at most home centers.
Before beginning any work, be sure to have your local building inspector look at your plans. Your town may have special requirements for a structure such as this, and will probably require a building permit and inspection. Your inspector may also require the enclosure to be checked by a structural engineer. Even if it’s not required, the cost of an inspection is a worthwhile investment in peace of mind. NOTE: Building codes in some regions require additional seismic and highwind anchors. Ask your building inspector about local requirements for a screen room.
For a furniture-quality interior, use D-grade (nearly blemish-free) cedar for the entire structural framework, with the exception of the laminated 1-3/4 x 12-in. beam (Photos 5 and 6) at the peak. You can substitute treated lumber for the framework, which will cut costs substantially, though the wood will show some imperfections. The foundation timbers are pressure-treated 6x6s. Bolts, screws, door hardware, paint and other miscellaneous hardware will add several hundred dollars to the cost.
We first painted our enclosure with a stain-blocking primer coat—make sure the label says that the product blocks cedar stains—to seal the cedar so it doesn’t discolor. We followed that with a topcoat of white latex paint. Do your painting before mounting the screens and doors. NOTE: If you choose not to paint, you’ll probably want to have your screens made of bronze-colored aluminum frames rather than white.
Measure for the screens after the structure is completed. Buy custom-made screens for the enclosure and the doors, or make your own. If you live in the Sun Belt, you might want to consider using a sun-blocking screening material (available at some home centers or online).
As an alternative to custom-made screens, you might want to consider securing the screening directly to the framing. However, this system does not allow the screens to be taken down and put back up easily.
The total cost for our patio enclosure will range from several thousand if you use less expensive materials to two or three times that amount (or more) for premium lumber and professionally made screens.
Sorry, the comment form is closed at this time.